Photoshop Techniques for Cleaning Files
You may use any, all, or none of these techniques for cleaning files based on the condition of the scanned file. The pages marked with asterisks are steps that should be completed when cleaning EVERY file. Please see a staff member if you have any questions.
Duplicate Layers
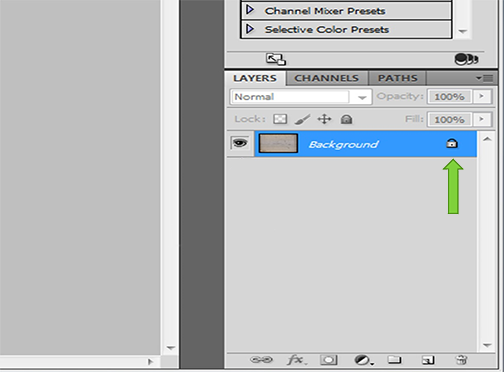
- Photoshop works in layers, a way to organize different steps and edits. The layers panel is located in the lower-right corner of the window.
- When an image is first opened, you will notice that the image is 'locked' in the right side of the layer, indicated with a lock symbol. This is the original copy.
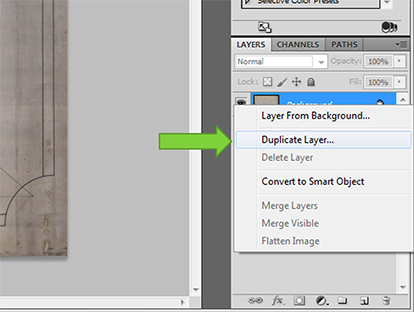
- Right-click on the locked image and choose
Duplicate Layer. This will make a copy of the original.
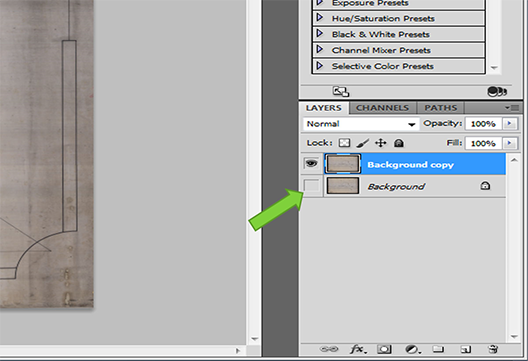
- Turn off the eye symbol on the background layer by clicking it so that only the layer saying 'background copy' has an eye icon next to it. This will be the copy you will be working with (seeing).
You should ALWAYS duplicate the original layer. Use the original layer as a reference during the optimization process or to start over with the page.
Rotate Images
Before making any edits to your document, be sure to duplicate the original layer.
- Navigate to Image>Image Rotation. You can choose 180, 90 Clockwise, 90 Counter-Clockwise, or Arbitrary. Arbitrary allows you to manually choose the degree of rotation.
Crop an Image
Before making any edits to your document, be sure to duplicate the original layer.
- The crop tool is located on the toolbar on the left side of the screen. Cropping an image trims unwanted areas from the sides, top, and/or bottom of an image.
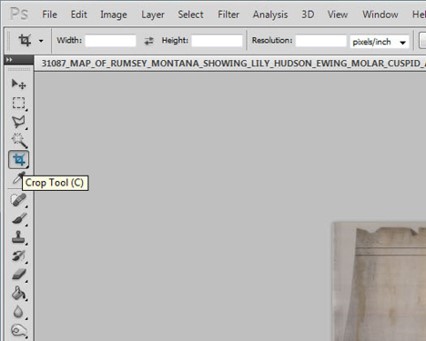
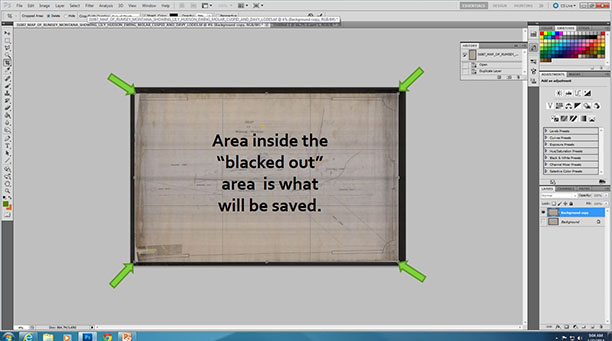
- Select the crop tool, and click and hold the mouse as you drag the tool over the area you want to keep. The area to be removed will be blacked out. To crop closely, select the crop tool, zoom in to the edge of the image, and drag the crop line to the edge of what you want to keep.
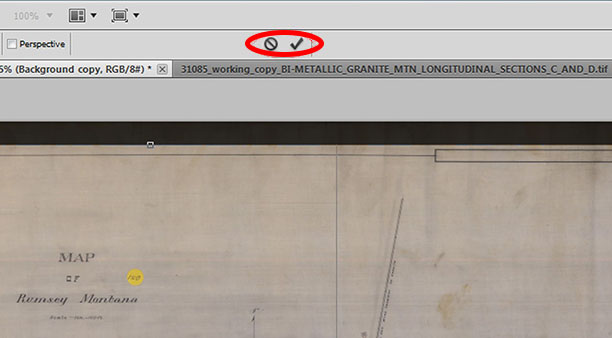
- The top of the toolbar will let you choose to either cancel or accept the changes. Click the check to icon apply changes.
Straighten an Image
Before making any edits to your document, be sure to duplicate the original layer.
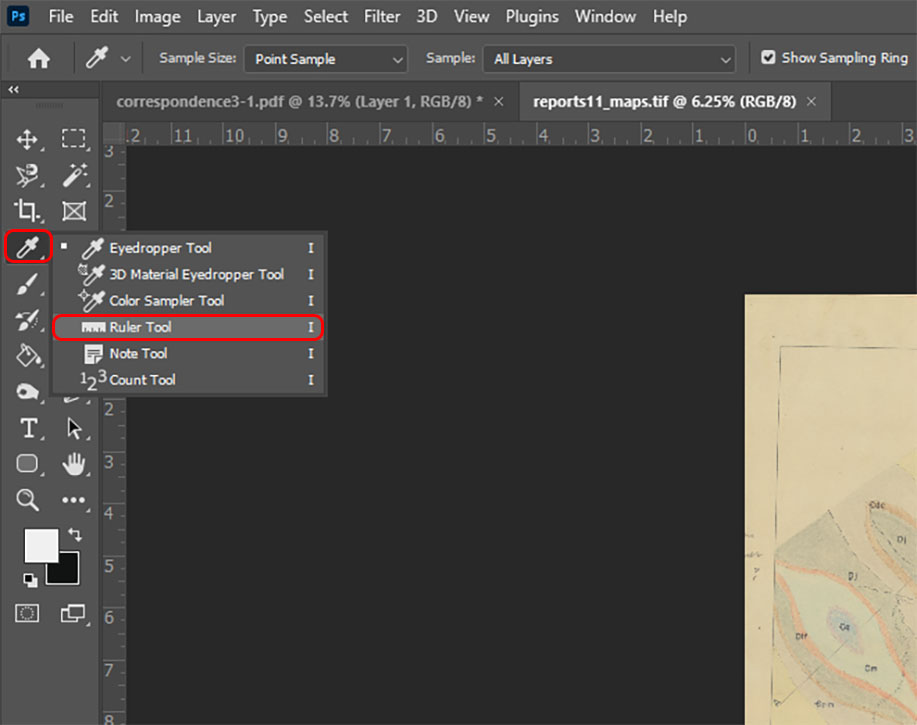
- Select the Ruler tool on the left-side toolbar. It can be found by right-clicking on the Eye-Dropper Tool.
-
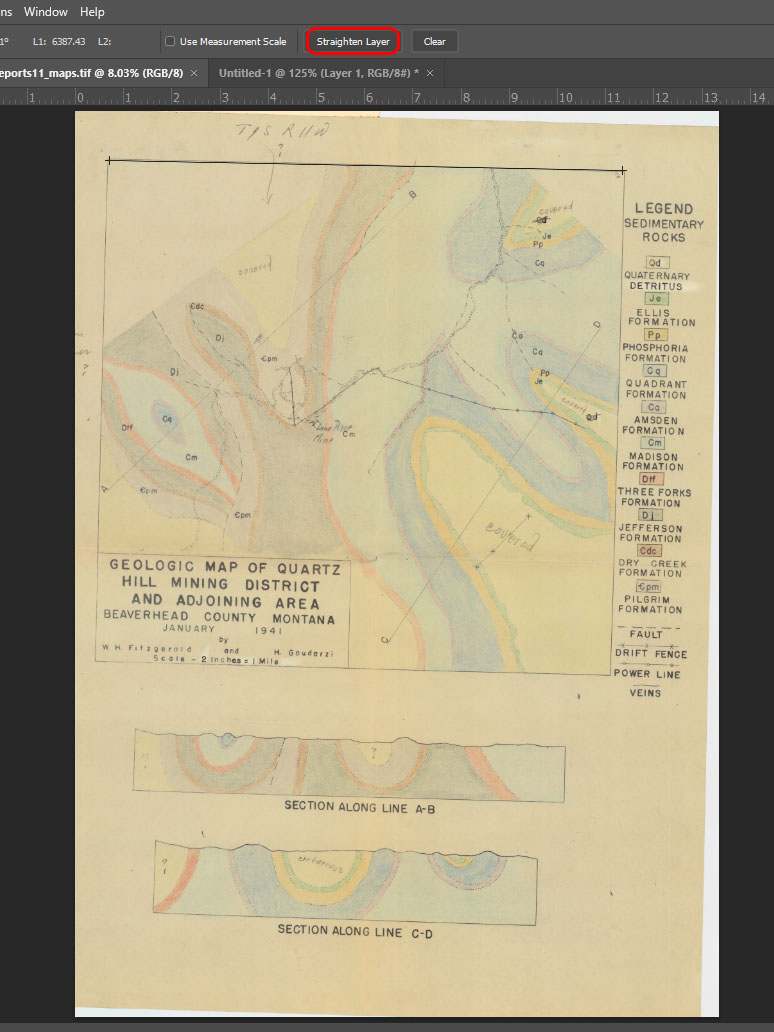
Click and drag along a crooked line on the image and then select 'Straighten Layer' at the top toolbar. If your layer doesn't have any lines, but has text instead, drag a line underneath a line of text as an imaginary line.
-
This will often change the canvas size as you will see the checkered background around the edges. Check your canvas size, especially for standard dimension documents such as 11x17, 8.5x11, and so on.
- Select the check mark in the tool bar to confirm the action.
Adjust the Levels and Curves (Shadows and Highlights Balance)
Before making any edits to your document, be sure to duplicate the original layer.
Dodge and Burn Tools
Before making any edits to your document, be sure to duplicate the original layer.
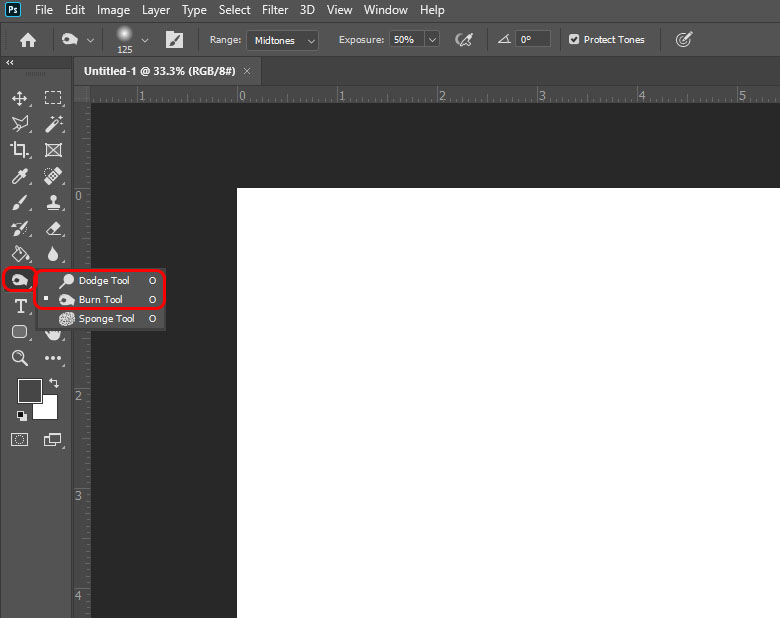
The dodge tool lightens the image where brushed; the burn tool darkens where brushed. The burn tool can darken text to make it more legible.
- Navigate to the left-side toolbar and right-click on the icon to reveal the tool options. Select either the burn or dodge tool.
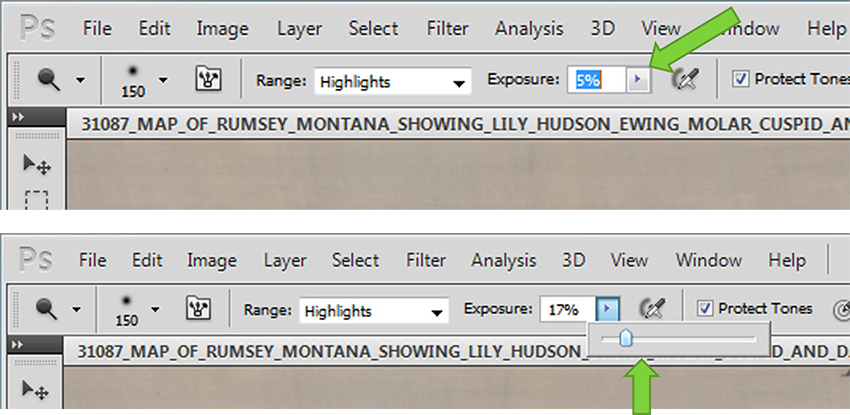
- Select the exposure level by either typing or using the slider to adjust to the desired exposure percentage. Access the slider by clicking the arrow on the right side of the exposure input area.
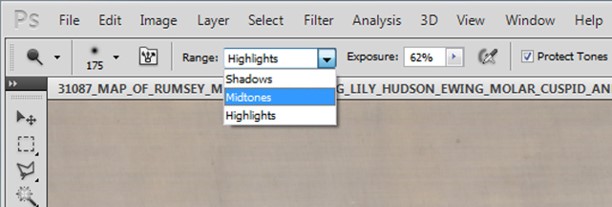
- Select the range to change--shadows, midtones, or hightlights). You will have to experiment with different ranges to fully understand you they work for whichever effect that you desire.
Clone Stamp Tool
Before making any edits to your document, be sure to duplicate the original layer.
Other tools such as the selection tools, spot healing brush, and the patch tool) can achieve similar results. Sometimes a combination of tools are required to get the desired outcome. Pick the most efficient for the situation, and ask a Staff Member is you are unsure.
- The Clone Stamp tool is located on the left-side toolbar. Right-click on the icon to reveal more tool options. Be sure to have the Clone Stamp Tool selected.

- To replace an unwanted area, hover the Clone Stamp Tool over an area you want to place over the unwanted area. Hold down the
ALTkey and left-click. This will select the clone area.
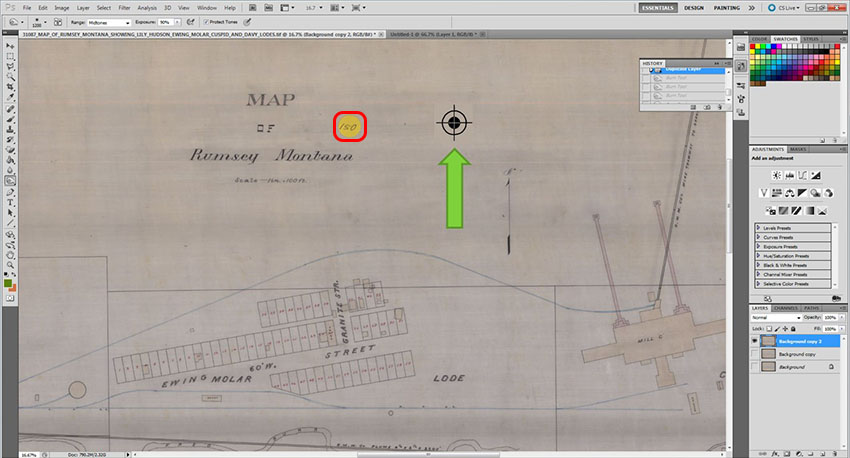
- Move to the area to be replaced, and hold the left button down while brushing over the desired area.

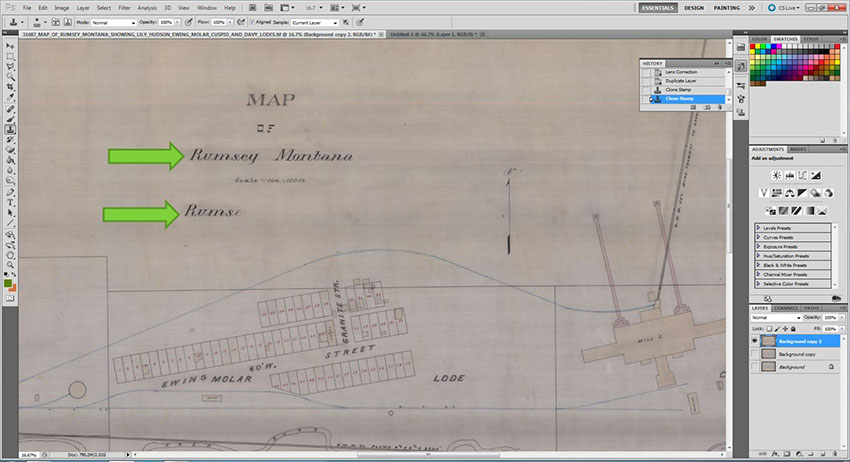
Here's another example:
Selection Tools and Fill
Before making any edits to your document, be sure to duplicate the original layer.
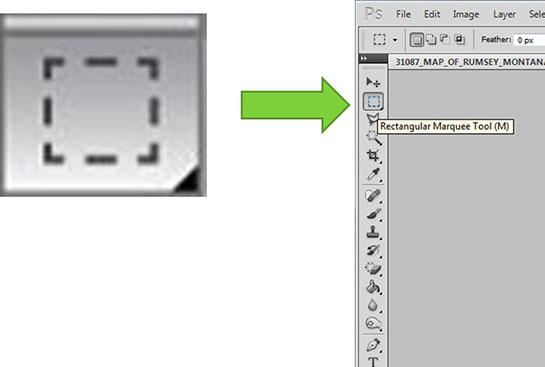
Marquee Tool
The Marquee tool is a selection tool with some filling options, such as content-aware, foreground, and background. Content-aware filling considers the content outside the selection to the fill with that content. Foreground filling uses the top color in the color squares in the left-side toolbar. The background fill uses the bottom color in the color squares in the left-side toolbar.Other tools such as the clone stamp, spot healing brush, and the patch tool can achieve similar results. Sometimes a combination of these tools is necessary to get the desired outcome. Pick the most efficient for the situation, and ask a Staff Member if you are unsure.
- Select the Rectangular Marquee Tool, which is located on the left-side toolbar.
- Select the area to be corrected by clicking and dragging the cursor across the area to be repaired.
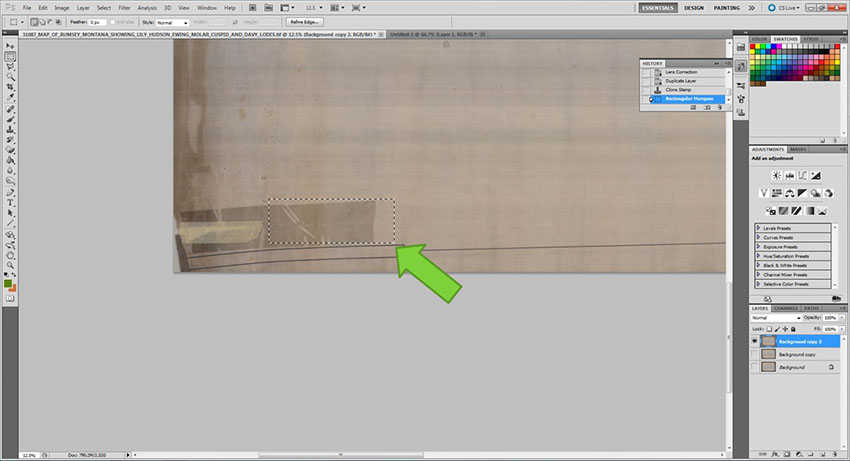
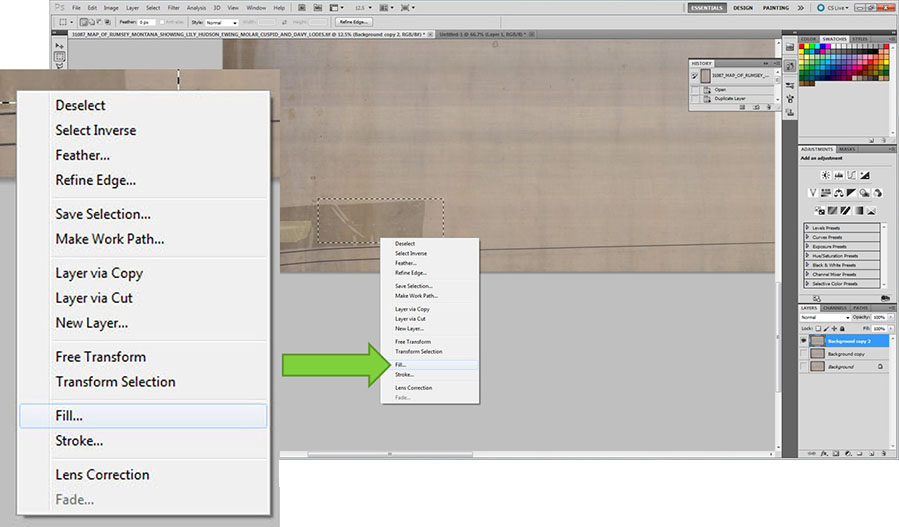
- With your cursor inside the selected area, right-click to access the sub-menu and select 'Fill'.
- A small window will pop up. In the first drop-down, select 'Content-Aware'.

- Press down
CTRL-Don the keyboard to deselect. You may see some spots that were missed in the selection. You can repeat the same process until you get the desired result.
For other filling options, see the presentation below.
Color Range Selection
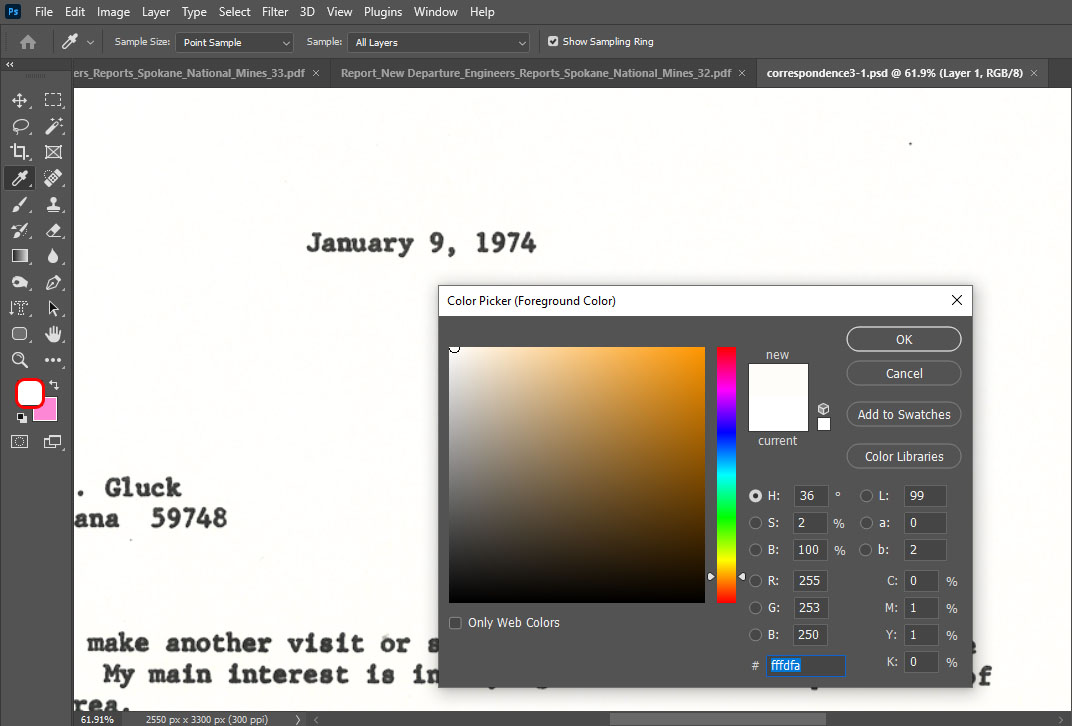
Color Range selection uses the eyedropper to select same colored pixels throughout the document.- First, you will need to select the color of the document and save it as the foreground color. To do this, select the foreground color in the squares in the left-side toolbar. When the window pops up, use your cursor (which will now take the shape of an eyedropper) to select anywhere on the background of the document. This will be the color used to fill in parts of the document that are not wanted to be replaced with the document color to blend in.
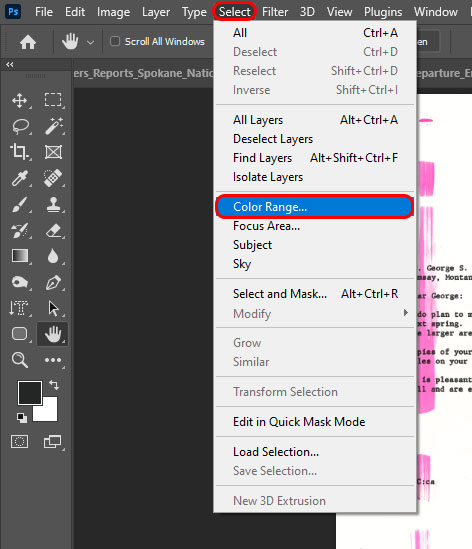
- Locate Color Range by navigating to 'Select>Color Range'.
- When the window pops up, use your cursor (which will now take the shape of an eyedropper) to select the section you want to select. Do not press 'OK' yet.
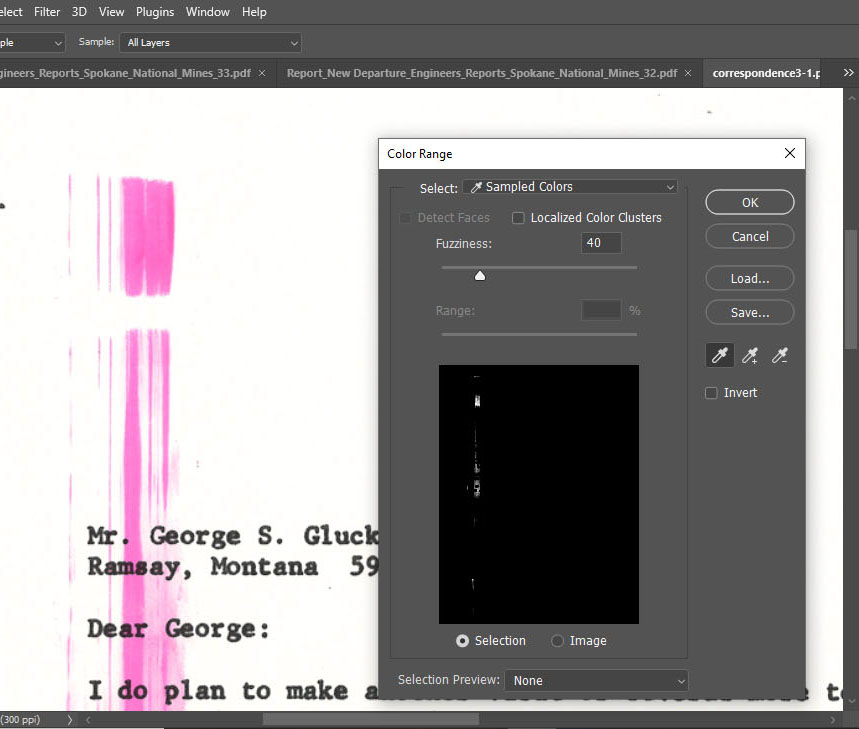
- In the window, select the eyedropper with the little plus symbol next to it. Then click and drag over a majority of the area you want to select. This is just to ensure that all of the colored pixels in this range are selected. You may unclick and click and hold again in a different area, or even click multiple times to ensure every color you want replaced is selected.Then select 'OK'.

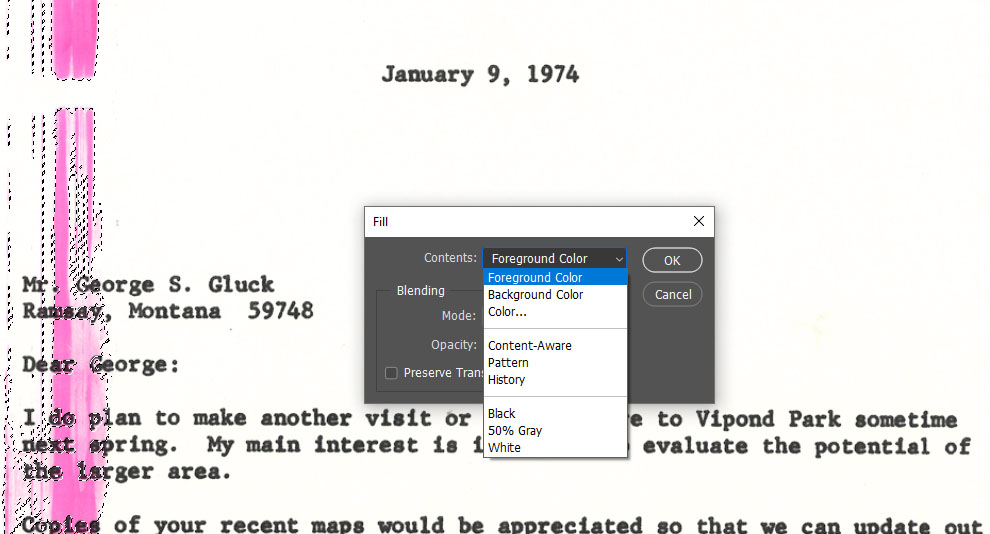
- You should see lines around the area of the colors you selected. Now navigate to 'Edit' on the main toolbar, and then down to 'Fill'.

- In the next window, select 'Foreground Color' from the dropdown and then select 'OK'.
- Press down
CTRL-Don the keyboard to deselect. You may see some spots that were missed in the selection. You can repeat the same process until you get the desired result.
Lasso, Polygonal Lasso and Magnetic Lasso Tools
Filling Selections
Spot Healing Brush Tool
Before making any edits to your document, be sure to duplicate the original layer.
See other similar tools (such as the clone stamp, marquee, and the patch tool) to pick the most efficient for the situation. Sometimes a combination of these tools is necessary to get the desired outcome.
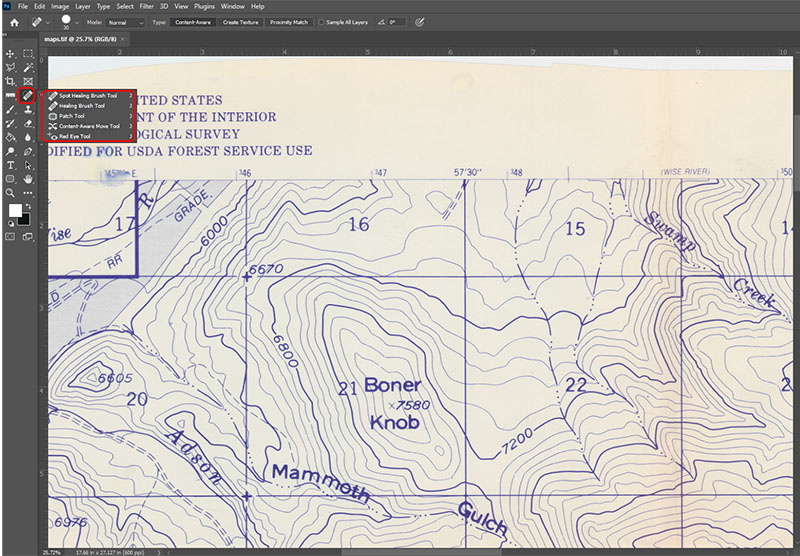
- Select the Spot Healing Brush Tool, which is located on the left-side toolbar. You can right-click this tool to reveal more similar tool options.
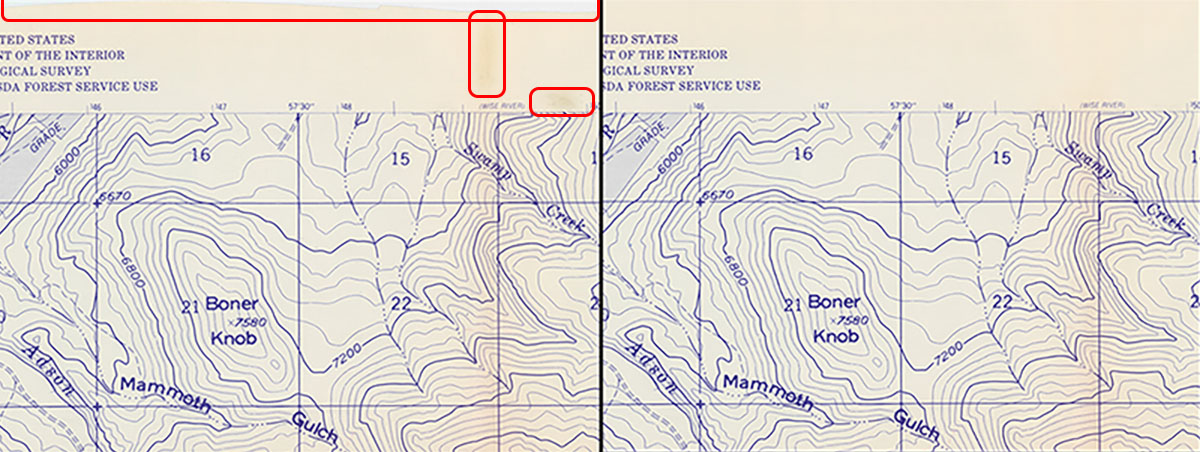
- Brush over the area with the imperfection to 'heal' it.

- Continue brush use for any other imperfections. Notice the difference at the tops of the images below for a before and after.
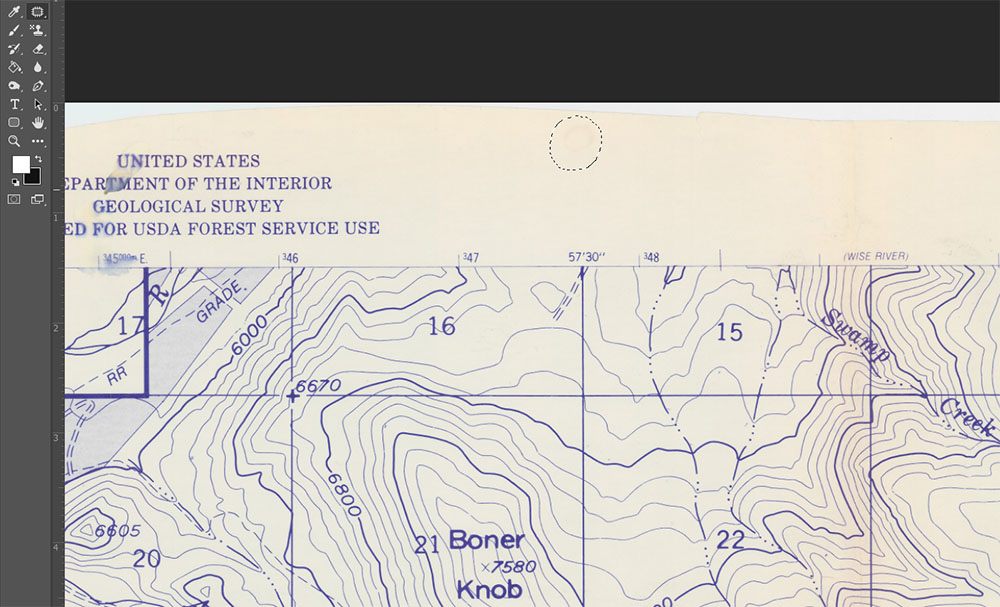
Patch Tool
Before making any edits to your document, be sure to duplicate the original layer.
See other similar tools (such as the Clone Stamp, Marquee, and the Spot Healing Brush tool) to pick the most efficient for the situation. Sometimes a combination of these tools is necessary to get the desired outcome.
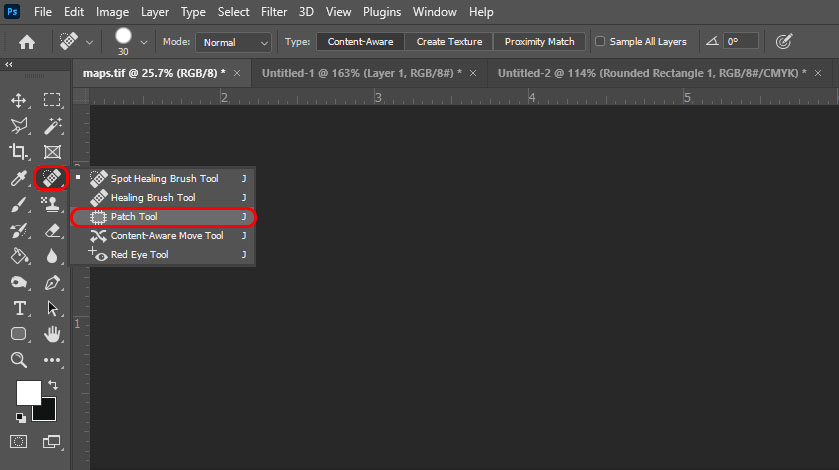
- Select the Patch Tool, which is located on the left-side toolbar usually accessed by right-clicking on the Spot Healing Brush Tool and selecting Patch Tool.
- Draw a selection circle around the area you want to fix.
- Left-click in the selected circle and drag to an area that with good texture (Color doesn't necessarily matter too much because the patch tool will attempt to keep as much of the local color as possible while replacing the texture.). Then release the click.
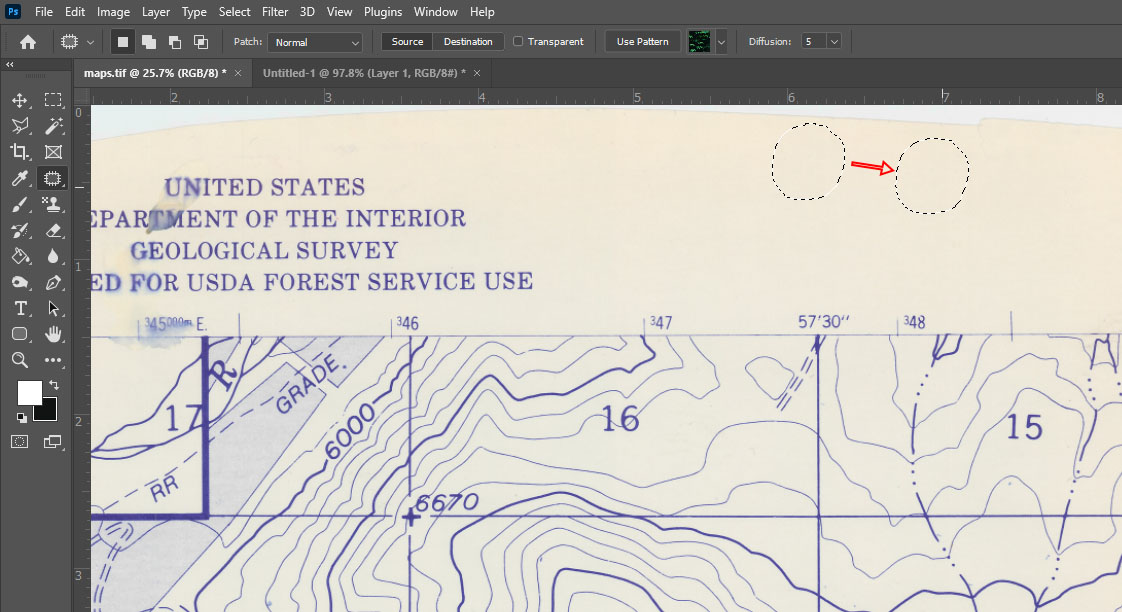
- Hold
CTRL-Dto deselect the area. - You may notice that the patch tool doesn't work too well with colors. This is what happens when I try to fix the edge of the page:
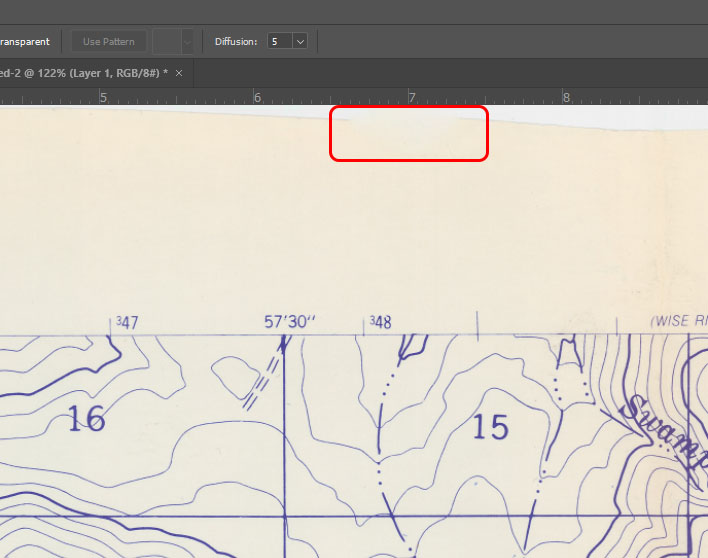 The edge was blurred rather than filled in. This is a job for either the Spot Healing Brush tool or the Clone Stamp.
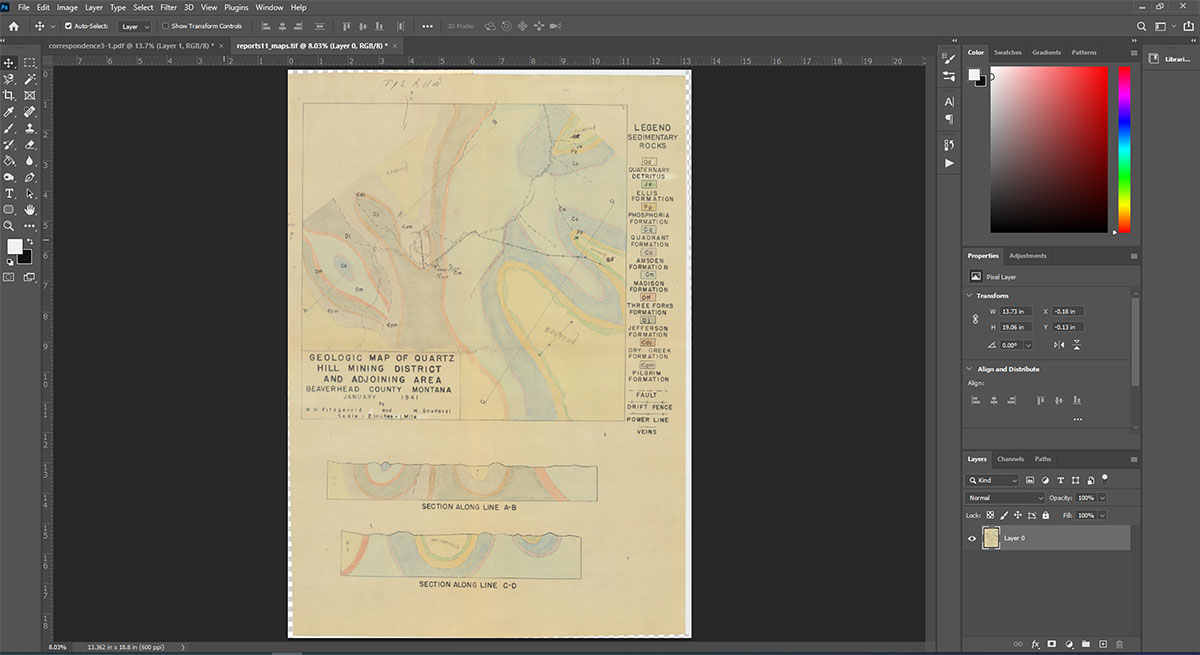
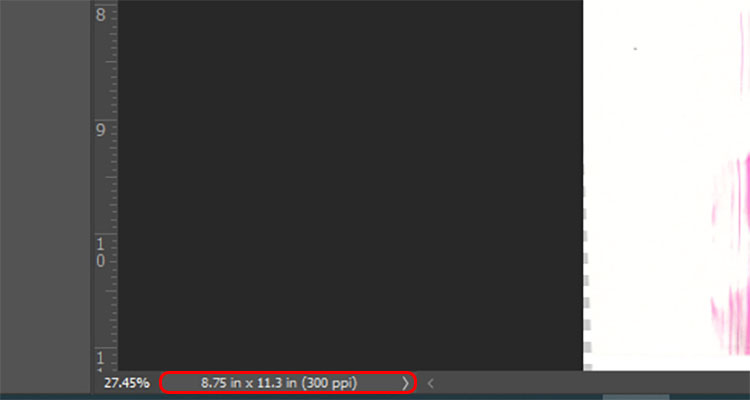
Check Image Size
- To quickly check your canvas size, navigate to the bottom-left of the Photoshop window. This area displays the image/canvas size and the ppi (pixels per inch). Verify that these numbers match the original document size before applying any edits.
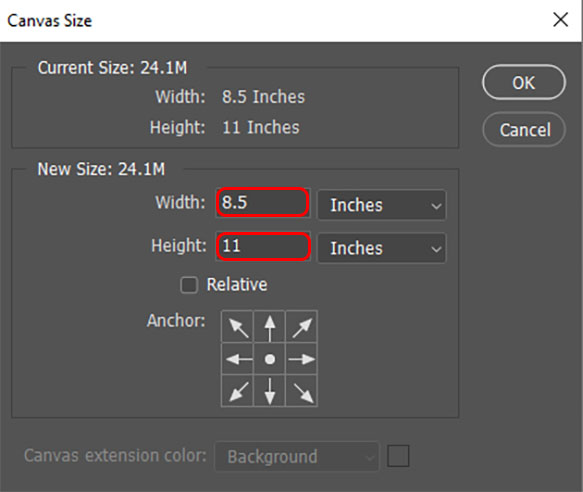
Standard document sizes are 8.5x11 (letter), 8.5x14 (legal), and 11x17 (ledger). Maps seldom fit these standard sizes, so note the original scanned dimensions. In this example, the file's canvas size has changed over the course of editing.
- To return to the appropriate size, navigate to 'Image' on the top menu bar, then select 'Canvas Size'.
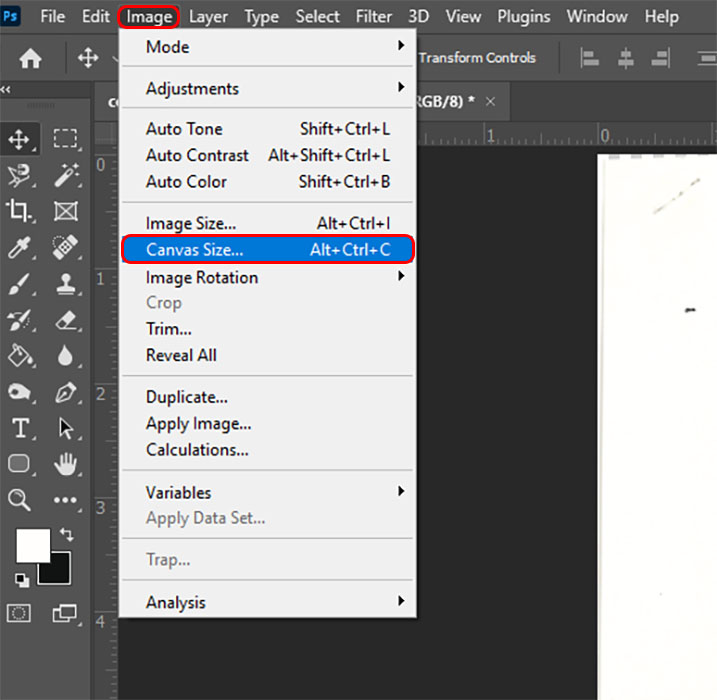
- In the next window, enter the appropriate dimensions.
ALWAYS check and correct your canvas size before saving and closing your file. This is the final step before your file is complete.